Weatherproof Exterior Lighting Installation Guide
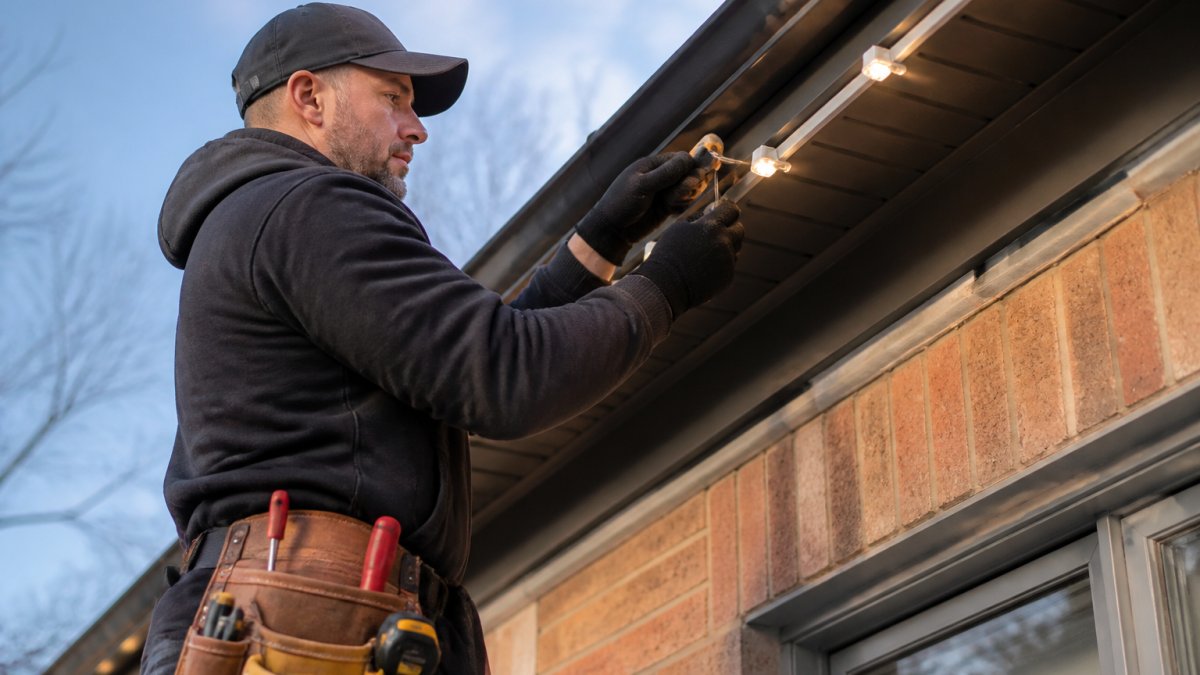
Exterior lighting installation: Install weatherproof exterior lighting safely and correctly.
Table of Contents
- Plan Your Fixture Locations and Lighting Layout
- Gather Tools and Materials for Outdoor Lighting Installation
- Exterior Lighting Electrical Safety: Before You Start
- Outdoor Lighting Mounting Methods: Brackets, Boxes, and Fasteners
- Step-by-Step Installation Process
- Permanent Roofline Lighting Maintenance and Durability
- Weatherproofing Details for Long-Term Protection
- When to Hire a Licensed Electrician
- Frequently Asked Questions
Last Updated: October 10, 2026
Plan Your Fixture Locations and Lighting Layout
A successful weatherproof exterior lighting installation starts with a clear plan. Before you buy anything or pick up a tool, map out where your fixtures will go and how they'll work together.
Think about what you're actually lighting. Are you highlighting the front entrance? Running lights along a roofline? Illuminating a pathway? Each use case demands different fixture types and spacing.
Sketch your layout on paper or take photos of your home's exterior. Mark where you want fixtures, note the distance between them, and identify which walls will need weatherproof sealing.
Consider the weather in your area. Winters bring freeze-thaw cycles that stress outdoor connections. Summer heat can degrade materials. Your fixture placement and weatherproofing strategy need to account for these conditions from day one.
Gather Tools and Materials for Outdoor Lighting Installation
You'll need specific tools and materials to do this job right. Skipping quality materials is where permanent installations fail within a season or two.
Tools you'll need:
- Voltage tester or multimeter
- Screwdrivers (Phillips and flathead)
- Wire strippers
- Needle-nose pliers
- Drill with bits
- Level
- Measuring tape
- Caulking gun
Materials for weatherproof exterior lighting installation:
- Weatherproof outdoor cable (rated for burial if needed)
- Wire nuts rated for outdoor use
- Electrical boxes or mounting brackets appropriate for your wall type
- Silicone sealant or weatherproof caulk
- Gaskets and seals for fixture bases
- Ground wire (typically green or bare copper)
- Your chosen light fixtures
Don't buy the cheapest options. Outdoor-rated materials cost more because they resist corrosion, UV damage, and moisture intrusion. A $15 wire nut designed for outdoor use will last years. A standard indoor wire nut will fail in months.
Exterior Lighting Electrical Safety: Before You Start
This is non-negotiable. Electricity and water don't mix, and outdoor environments are wet. Mistakes here can cause shock, fire, or permanent damage to your home's electrical system.
First, understand your local electrical code. Electrical work is governed by provincial codes based on the Canadian Electrical Code. Some provinces require permits for outdoor lighting work. For specific requirements, consult the National Building Code of Canada and your provincial building authority.
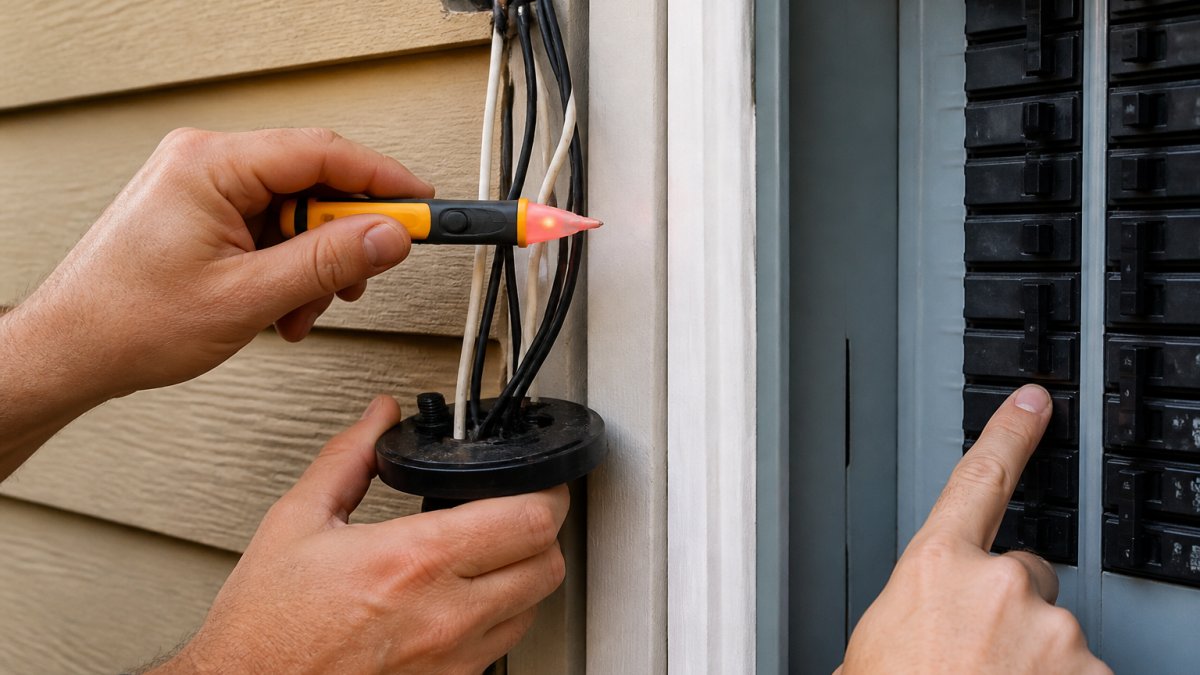
Second, turn off power at the circuit breaker. Don't just flip a switch. Go to your breaker panel, identify the correct circuit, and switch it off.
Third, use GFCI protection. A GFCI outlet or breaker cuts power instantly if it detects a ground fault. This is a critical safety feature for outdoor circuits.
Finally, never work in wet conditions. If it's raining or the ground is soaked, wait. Wet hands, wet tools, and wet ground all increase shock risk.
Outdoor Lighting Mounting Methods: Brackets, Boxes, and Fasteners
Your fixture needs a solid, weatherproof base. The mounting method depends on your wall type and fixture design.
Choosing Between Pancake Boxes and Standard Junction Boxes
A pancake box is a shallow electrical box designed for exterior use. It's only approximately 4 cm deep, which makes it ideal for thin walls or siding. A standard junction box is deeper (typically 5-7.5 cm) and offers more room for wire connections.
For most residential exterior lighting installations, a pancake box is sufficient. It takes up less space, sits flush against the wall, and provides enough room for wire connections and weatherproofing. Standard boxes work too, but they stick out further and require more careful sealing.
The key difference: a pancake box is faster to install on thin siding, while a standard box gives you more working room if you're dealing with multiple wire connections or thicker cable.
Securing Fixtures to Different Siding Types
Wood siding, vinyl, fiber cement, and brick all need different approaches.
Wood siding: Drill pilot holes to prevent splitting. Use stainless steel or galvanized fasteners; regular steel will rust and fail. Seal around the hole with silicone caulk before and after installation.
Vinyl siding: Never screw directly into vinyl. It expands and contracts with temperature, and a tight screw will crack it. Use mounting blocks designed for vinyl siding.
Fiber cement: Use corrosion-resistant fasteners and pre-drill all holes. Fiber cement is dense and brittle; rushing this step causes cracking.
Brick or stone: Use masonry anchors rated for your wall type. Drill with a masonry bit. Seal the hole with outdoor caulk.
In every case, caulk around the fixture base after installation. This is where water sneaks in and causes problems months later.
Step-by-Step Installation Process
Step 1: Turn Off Power and Test the Circuit
Go to your breaker panel and switch off the circuit that powers your outdoor lighting. Wait 30 seconds, then use a voltage tester on the wires you'll be working with. The tester should show zero voltage. If it shows any power, you've got the wrong breaker; find the right one and try again.
This single step prevents electrocution. Never skip it.
Step 2: Mount the Electrical Box or Fixture Bracket
Position your pancake box or mounting bracket on the wall where you planned it. Use a level to ensure it's straight. Drill pilot holes through the box mounting holes into the wall. Secure with appropriate fasteners for your wall type.
If you're mounting on siding, apply silicone caulk around the back of the box before fastening. This seals the gap and prevents water from running behind the siding. Tighten fasteners snugly but don't over-torque; you can crack the box or strip the threads.
Step 3: Connect Fixture Wires and Ground Wire
This is where precision matters. Strip about half an inch of insulation from each wire. You'll typically have a black (hot), white (neutral), and bare copper or green (ground) wire from both the wall supply and the fixture.
Connect like colors: black to black, white to white, ground to ground. Use outdoor-rated wire nuts and twist them until snug; they should require effort to remove. Gently tug each connection to confirm it's secure.
Coil excess wire neatly inside the electrical box. Don't force wire into a space that's too small; this damages insulation and creates fire risk. If your box is too small, you've chosen the wrong one.
Step 4: Seal and Weatherproof All Connections
This step determines whether your installation lasts one season or ten. After all wires are connected, apply silicone caulk around the fixture base where it meets the wall. Smooth it with a wet finger to create a complete seal.
Check for any gaps around the electrical box or where wires enter the fixture. Seal those too. Water finds every tiny opening, so be thorough.
Create a drip loop if your fixture hangs below the connection point. A drip loop is a small loop in the wire that directs water droplets away from the connection. This prevents water from running down the wire into the fixture or box.
Step 5: Test the Fixture and Verify GFCI Protection
Turn the breaker back on. The fixture should light immediately. If it doesn't, turn the breaker off and check your wire connections; something isn't seated properly.
Once the light works, test the GFCI protection. Press the TEST button on your GFCI outlet or breaker. The light should go out. Press RESET and it should come back on. This confirms your GFCI is working. If it doesn't trip, you have a wiring problem; call an electrician.
Permanent Roofline Lighting Maintenance and Durability
Roofline fixtures face the harshest conditions. They're exposed to wind, ice load, UV radiation, and temperature swings. Maintenance keeps them working year after year.
Inspect fixtures twice a year: once before winter and once before summer. Look for cracks in the fixture body, loose fasteners, or caulk that's peeling away. Tighten any loose screws. Re-caulk any gaps.
Check wire connections inside the fixture if accessible. Corrosion can form even inside a sealed fixture if moisture gets trapped.
Replace any fixture that's cracked or showing signs of water intrusion. A damaged fixture will fail, and the longer you wait, the more damage water does to the surrounding structure.
| Maintenance Task | Frequency | Why It Matters |
|---|---|---|
| Visual inspection | Twice per year | Catches problems early |
| Tighten fasteners | Once per year | Prevents rattling and loosening |
| Re-caulk gaps | Every 2-3 years | Stops water intrusion |
| Check wire connections | Once per year | Prevents corrosion failures |
| Replace damaged fixtures | As needed | Prevents water damage to structure |
Weatherproofing Details for Long-Term Protection
Weatherproofing is the difference between a fixture that lasts five years and one that lasts fifteen.
Start with fixture selection. Buy fixtures rated for wet locations, not just damp locations. Wet-location fixtures are sealed to handle direct water spray.
Check the IP rating on your fixture. IP65 means dust-tight and water-jet resistant. IP67 means dust-tight and temporary immersion resistant.
Use gaskets under every fixture base. The gasket compresses when you tighten the fixture, creating a watertight seal.
Apply silicone caulk, not latex. Latex cracks and shrinks. Silicone stays flexible and maintains the seal through freeze-thaw cycles.
Bury outdoor cable at least 18 inches deep if it runs along the ground. Shallow burial exposes cable to damage from foot traffic, lawn equipment, and UV exposure. For safety and code compliance, consult the Canadian Electrical Code for specific burial depth requirements.
When to Hire a Licensed Electrician
Some jobs are worth handling yourself. Others aren't. Knowing the difference saves money and prevents disaster.
Hire an electrician if your home lacks outdoor circuits or GFCI protection. Running a new circuit from your breaker panel requires knowledge of load calculations, code compliance, and proper grounding.
Hire an electrician if you're unsure about your local electrical code or permit requirements. Provincial and municipal authorities oversee these regulations.
Hire an electrician if you encounter any of these during installation: existing wiring that looks damaged, a breaker that won't stay on, outlets that spark, or any situation where you feel unsafe.
StarLites Permanent Lights Inc. recommends consulting with a local electrician before starting, especially if you're new to outdoor electrical work.
Weatherproof exterior lighting installation protects your home while creating the polished look you want. Get started with local electrical code requirements to confirm what permits you need, then reach out to StarLites Permanent Lights Inc. for fixtures designed to withstand harsh weather and deliver reliable, beautiful outdoor lighting for years to come.
Frequently Asked Questions
How do I know if my exterior lighting installation will hold up through a harsh winter?
Permanent exterior lighting installation provides stability that clip-on systems cannot match. Key durability factors include using weatherproof fixtures rated for wet locations, securing all connections with corrosion-resistant materials, applying weatherproof sealant around wall penetrations, and ensuring proper drainage through drip loops. Quality permanent installations from providers like StarLites are engineered to withstand freeze-thaw cycles, ice load, and moisture intrusion over many seasons.
What tools and materials are needed to install permanent outdoor lighting?
Essential tools include a voltage tester, wire strippers, needle-nose pliers, a drill with bits, a level, and a caulking gun. Materials needed are outdoor-rated cable, wire nuts rated for outdoor use, corrosion-resistant fasteners, weatherproof silicone sealant, gaskets for fixture bases, and an electrical box or mounting bracket rated for your fixture type. Using the correct materials ensures your outdoor lighting installation resists moisture, corrosion, and electrical failure.
Do I need a licensed electrician to install exterior lighting?
Local electrical codes determine whether a permit and licensed electrician are required. Most jurisdictions require a permit for any new circuit or hardwired exterior lighting installation. A licensed electrician ensures proper GFCI protection, correct circuit sizing, and code compliance. If you're uncertain about your local requirements or uncomfortable working with electrical circuits, hiring a professional is the safest choice and protects your home's safety and resale value.
How do I weatherproof an outdoor light fixture to prevent water intrusion?
Weatherproofing requires multiple layers: select fixtures with appropriate wet-location or damp-location ratings (look for IP65 or higher), install a gasket between the fixture base and wall, apply weatherproof silicone sealant around all wall penetrations, create a drip loop in the wire to direct water away from connections, and ensure the electrical box has a weatherproof cover. Regular inspection for caulk degradation or moisture around the fixture base catches problems before they cause corrosion or electrical issues.